1.Lambert模型
Shader "Custom/Surf1"{
    Properties{
        _MainTex("Main Tex",2D) = "white"{}
    }

    SubShader{
        Tags{"RenderType"="Opaque"}
        LOD 100

        CGPROGRAM
        #pragma surface surf Lambert

        sampler2D _MainTex;

        struct Input
        {
            float2 uv_MainTex;
        };

        void surf(Input IN,inout SurfaceOutput o){

           // 从贴图中采样颜色
            half4 c = tex2D(_MainTex, IN.uv_MainTex);
            o.Albedo = c.rgb; // 设置漫反射颜色
            o.Alpha = c.a; // 设置透明度
        }

        ENDCG
    }
    FallBack "Diffuse"
}
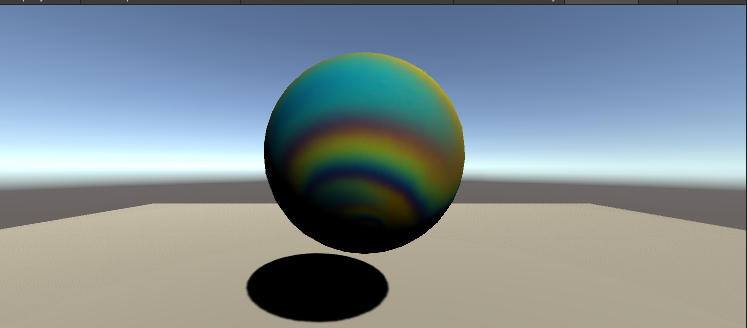
效果:

2.BlinnPhong
Shader "Custom/Surf1"{
    Properties{
        _MainTex("Main Tex",2D) = "white"{}
        _Specular("Specular",range(0.0,1.0)) = 0.0
        _Gloss("Gloss" ,range(0.0,1.0)) = 0.0
    }

    SubShader{
        Tags{"RenderType"="Opaque"}
        LOD 100

        CGPROGRAM
        #pragma surface surf BlinnPhong

        sampler2D _MainTex;
        float _Specular;
        float _Gloss;

        struct Input
        {
            float2 uv_MainTex;
        };

        void surf(Input IN,inout SurfaceOutput o){

           // 从贴图中采样颜色
            half4 c = tex2D(_MainTex, IN.uv_MainTex);
            o.Specular = _Specular;
            o.Gloss = _Gloss;
            o.Albedo = c.rgb; // 设置漫反射颜色
            o.Alpha = c.a; // 设置透明度
        }

        ENDCG
    }
    FallBack "Diffuse"
}
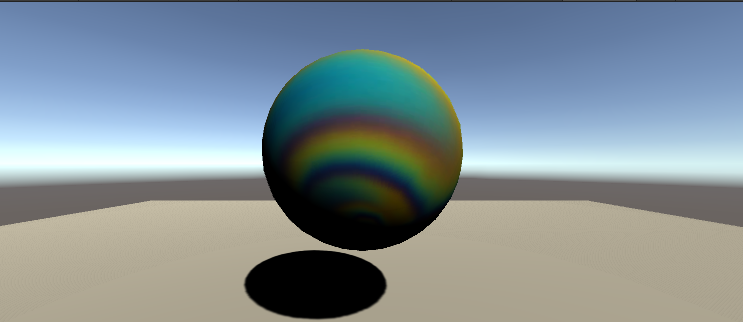
效果:

这两个模型对应的输出
struct SurfaceOutput
{
    fixed3 Albedo;  // 漫射颜色
    fixed3 Normal;  // 切线空间法线(如果已写入)
    fixed3 Emission;
    half Specular;  // 0..1 范围内的镜面反射能力
    fixed Gloss;    // 镜面反射强度
    fixed Alpha;    // 透明度 Alpha
};
Lambert 和 BlinnPhong光照模型不是基于物理的使用这两个光照模型的着色器在低端硬件上(手机上)可以提高渲染速度。但是效果也差一点,不够真实。
注意:
纹理坐标必须命名为“uv”后跟纹理名称的形式(如果要使用第二个纹理坐标集,则以“uv2”开头)
输入的结构体名字,就得必须是叫Input


